In this blog post, we’re diving deep into the world of HAAS AXIS Straight End Stops and providing a comprehensive guide on how to install them. Whether you're a seasoned professional or a beginner, this step-by-step tutorial will help you understand everything you need to know.
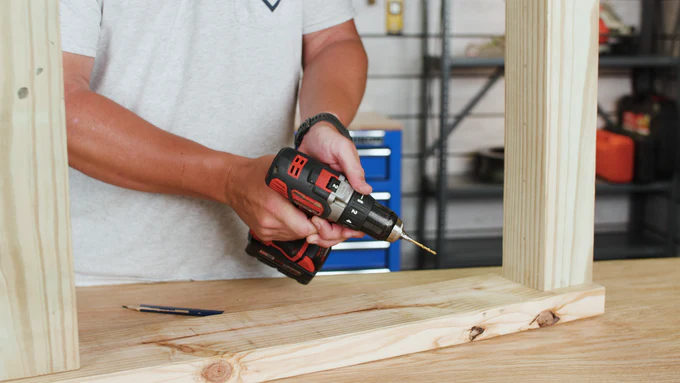
To start, the first crucial step involves marking your post. Grab your marking template and use it to outline the exact positions where you'll need to drill the screw pilot holes for your AXIS straight end stops. Precision is key here, so take your time to ensure accurate markings.

Once your holes are marked, pick up your drill and adjust it to its highest speed setting. Using a 1/8" drill bit, carefully drill pilot holes at each marked point, going about 2 inches deep into the post. Be sure to repeat this process for every single mark on the post to ensure stability and accuracy.

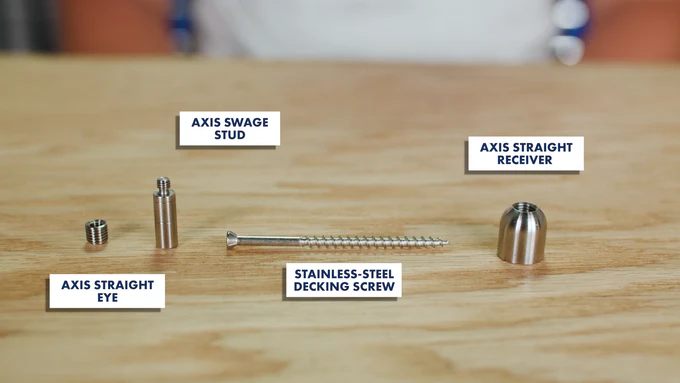
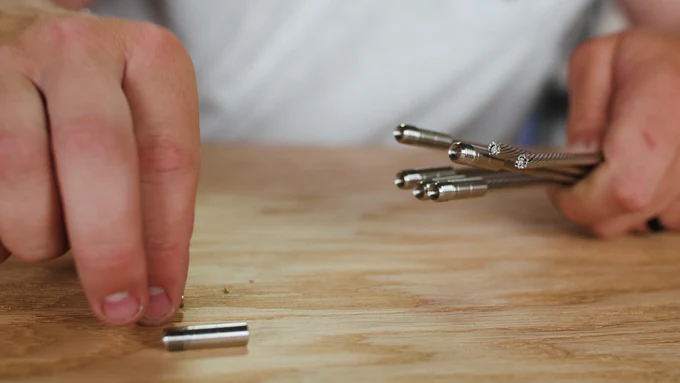
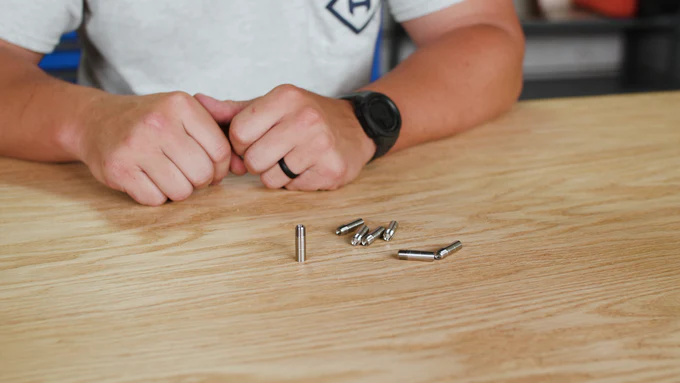
After drilling the pilot holes, it’s time to gather your components. The AXIS straight end stops consist of four main parts: the AXIS straight receiver, a stainless-steel decking screw, the AXIS swage stud, and the AXIS straight eye. Familiarize yourself with these components before proceeding further.
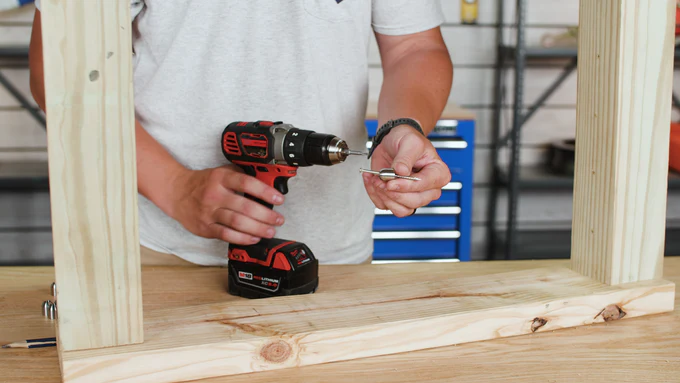
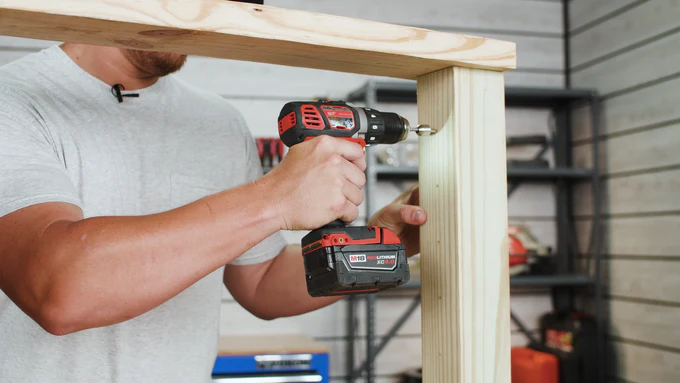
Next, you’ll want to mount the AXIS straight receivers onto your post. Begin by inserting a T-20 star bit into your drill and setting the drill to its lowest speed setting. Pass the stainless-steel mounting screw through the AXIS straight receiver and secure it into the previously drilled holes. This step ensures a firm attachment to the post.
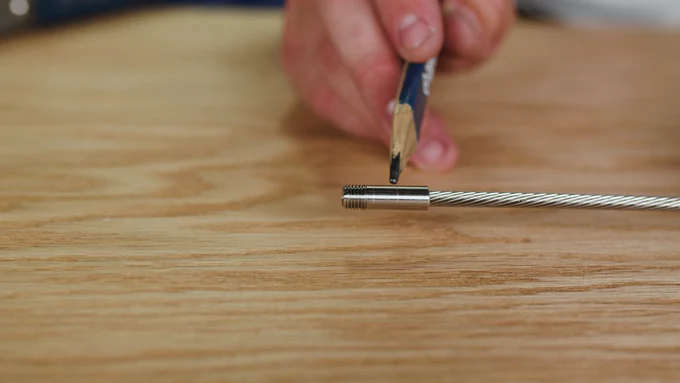
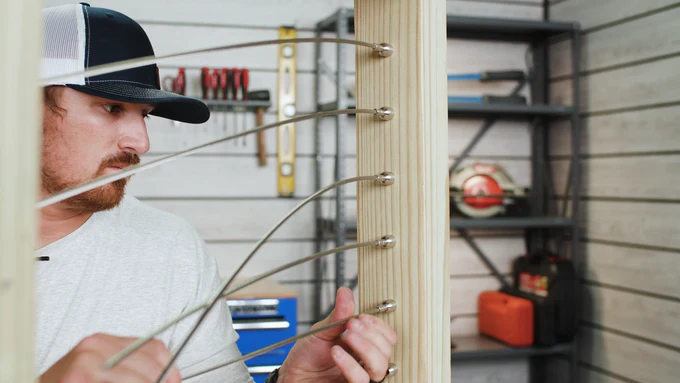
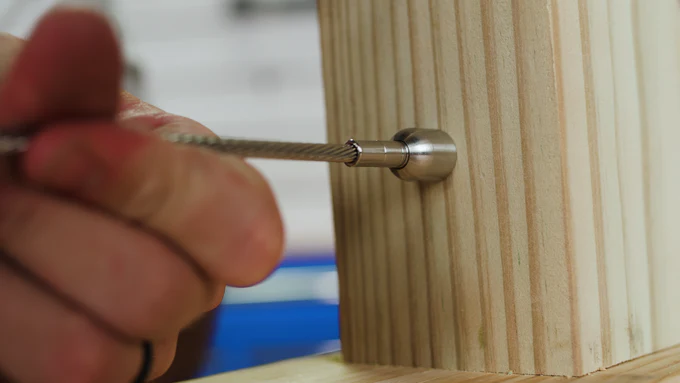
With the receivers securely mounted, the next phase involves attaching the precut cables to the receivers. Start by threading the AXIS straight eyes and swage studs together. Ensure that the cables are inserted into the AXIS swage studs and seated firmly at the back of the swage cavity.
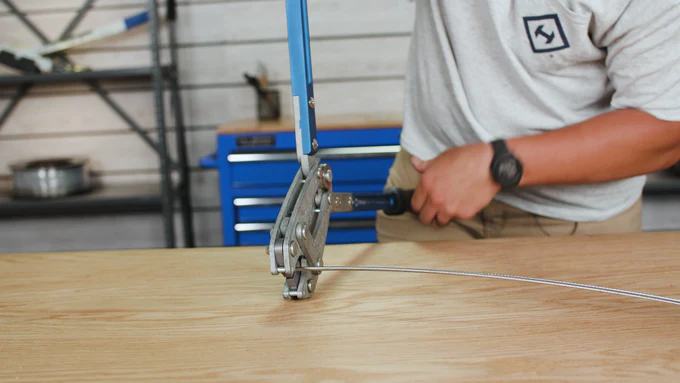
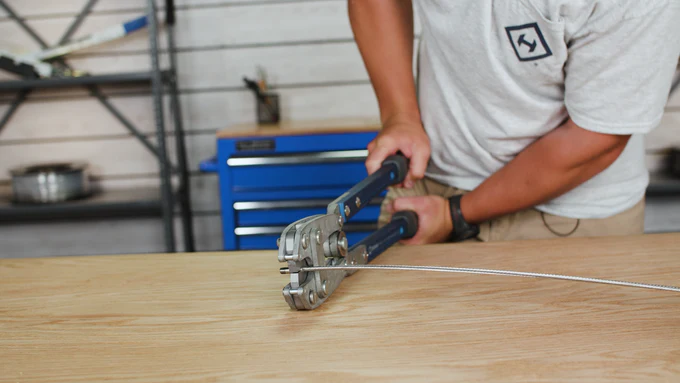
Using a Crenshaw swaging tool, carefully swage each stud onto the cable. The swage area is located between the opening of the stud and the small indentation line. Align the die of the swager within this area and close the handles to make your first swage. Then, slightly open the handles, rotate the cable and stud by 90 degrees, and perform your second and final swage.
Once all the swage studs are secured and aligned with the straight receivers, simply thread them into place. Align the swage stud with the opening of the receiver and twist until it locks securely. Repeat this process for all the remaining straight end stops on your post.
With all the straight end stops mounted and assembled, the final step is to run your cable and tension the entire setup. This will complete the installation process and ensure a strong, durable finish.

And there you have it! A fully installed AXIS straight end stop system. If you found this guide helpful, don’t forget to check out the accompanying video tutorial linked below. Happy building!
I hope this detailed guide helps you master the installation of HAAS AXIS Straight End Stops. Let me know if you have any questions or need further assistance. Happy building and stay safe!
I hope this detailed guide helps you master the installation of HAAS AXIS Straight End Stops. Let me know if you have any questions or need further assistance. Happy building and stay safe!
Solar Light,Solar Lanterns,Solar Lamp,Solar Powered Lights
Ningbo Royalux Lighting Co., Ltd. , https://www.royaluxlite.com